Hooking up Jetson TX1 GPIO to Nintendo Famicom Mini's Joystick
I need to physically connect Jetson TX1’s GPIO pins with Nintendo Famicom Mini’s joystick, so that my AI agent can really control the joystick: moving up/down/right/left or fire/jump, etc. So it’s time to work on some circuits and soldering!
I opened up Nintendo Famicom Mini’s joystick and studied the circuit. Essentially each joystick button looks like the following. Whenever the button is pressed, the output signal is shorted to GND.
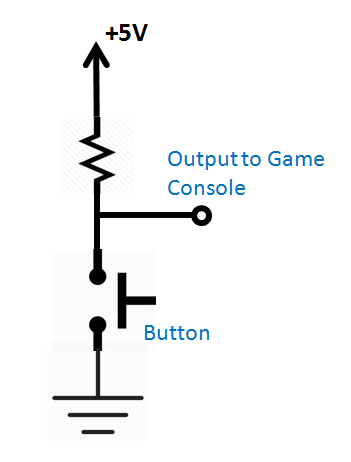
In order to do button pressing by software, I added a simple transistor switch controlled by a GPIO for each button. The circuit is shown below. Driving the GPIO pin ‘High’ would have the same effect as the button being pressed. The transistor I used is C828 (NPN type) which was the cheapest I could find off shelf. And the resistor connecting to Base of the transistor is 47k ohm.

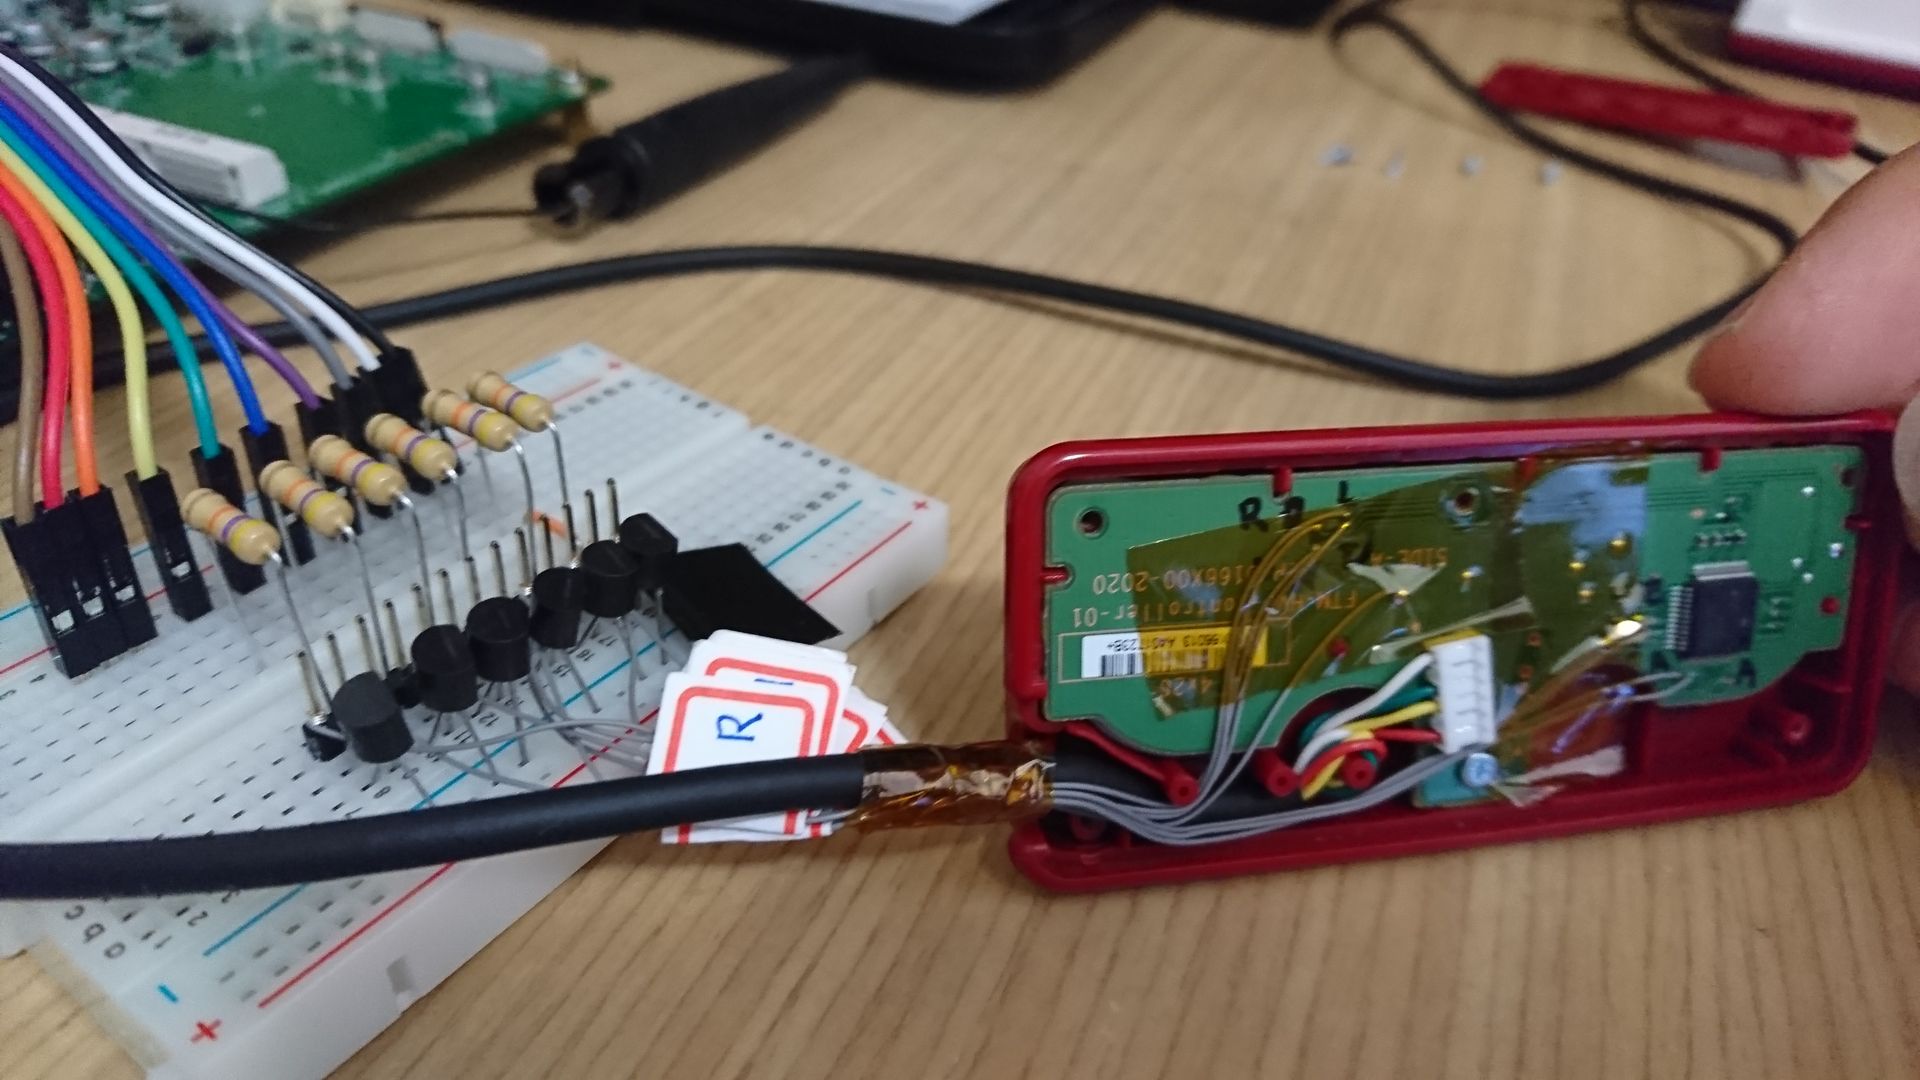
In order to tap onto the joystick, I did some soldering work.
Here I’m documenting the connections between Nintendo Famicom Mini joystick buttons and TX1 GPIO pins. By the way, the choice of GPIO pins were arbitrary and mainly due to easiness for me to do the jump-wiring and soldering.
| Joystick Button | Pin # on Jump-wired Header | Pin # on TX1 J21 | GPIO # |
|---|---|---|---|
| A (Fire) | 1 | 13 | gpio38 |
| Right | 3 | 16 | gpio37 |
| Up | 5 | 18 | gpio184 |
| Down | 7 | 29 | gpio219 |
| Left | 9 | 32 | gpio36 |
| Start | 11 | 33 | gpio63 |
| GND | 13 | 39 | – |
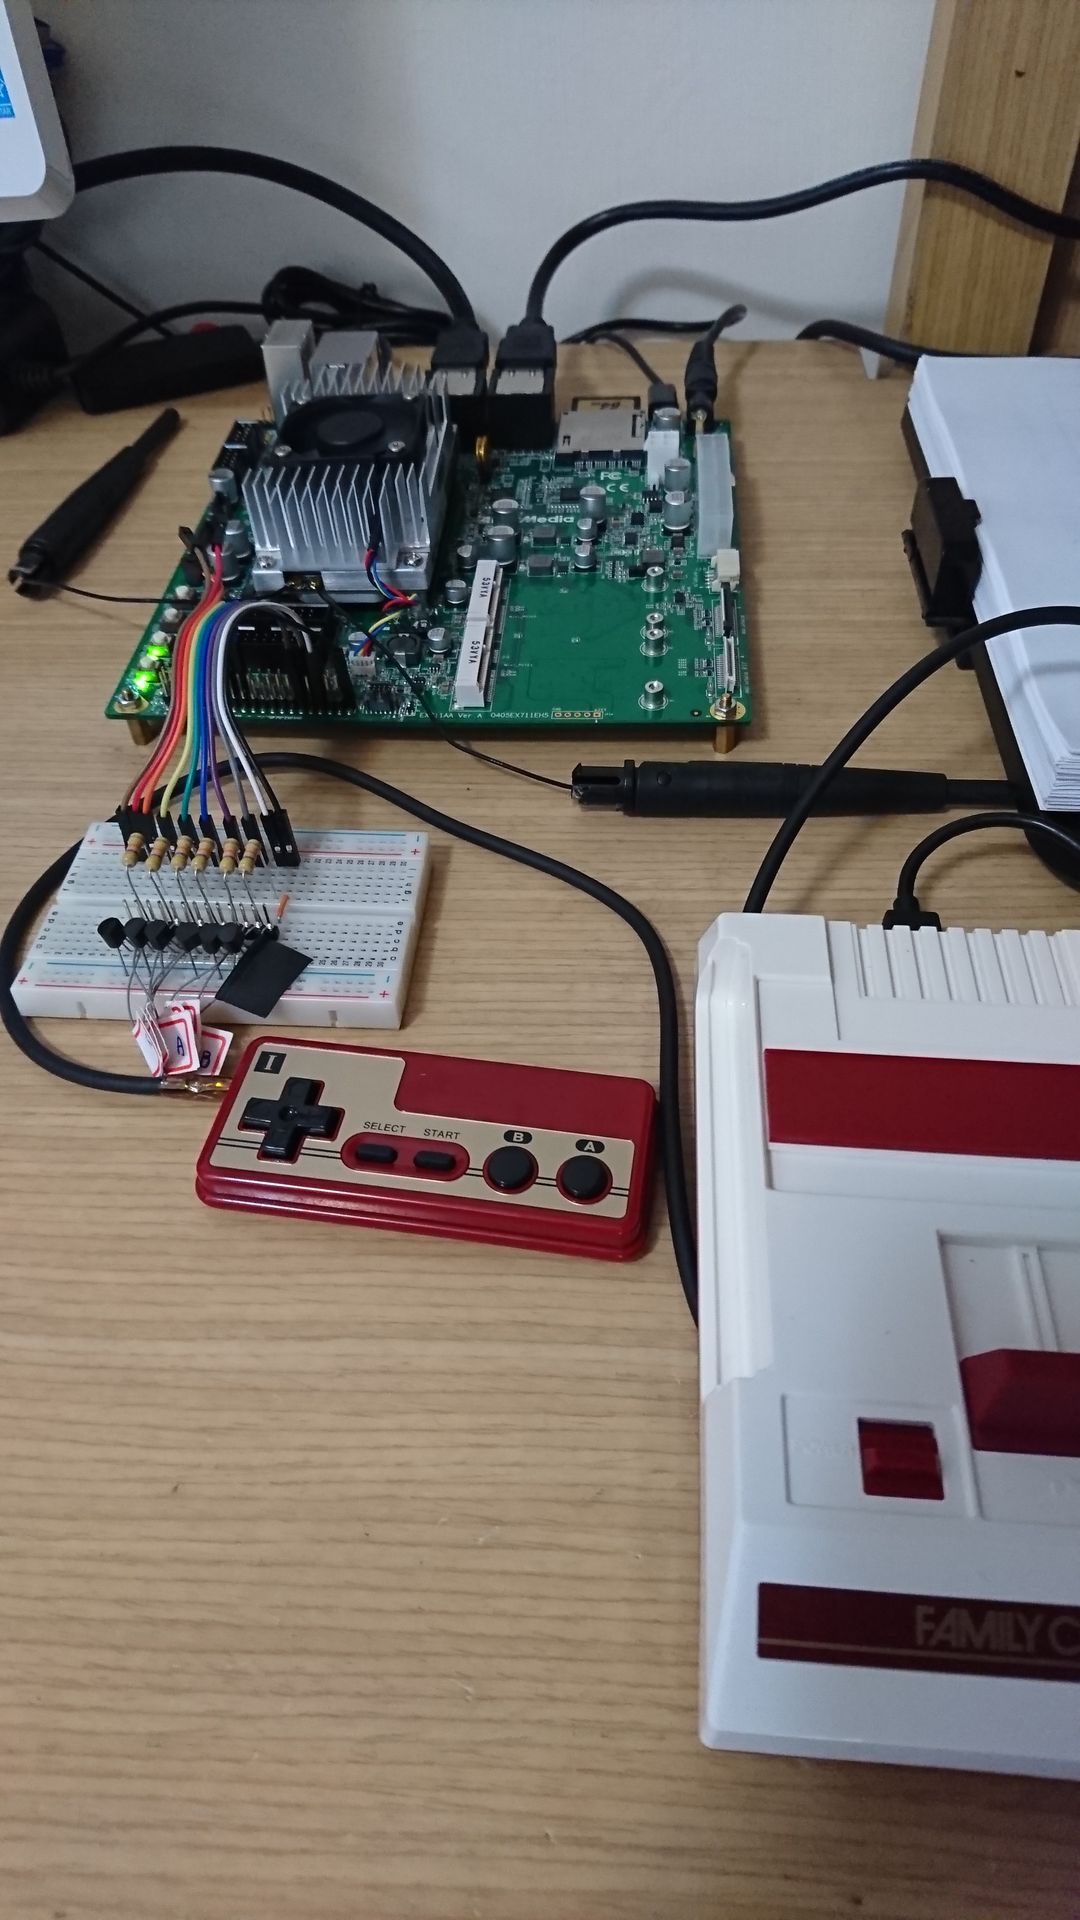
And this is how it looks like after I hooked up all 6 buttons I needed for the ‘Galaga’ game: A (Fire), Right, Up, Down, Left and ‘Start’ (to be able to restart the game).
At this point, I seem to have all the components/modules built. Next up should be to integrate things together so that the AI agent could have a ‘game environment’ to play in by itself…