Installing OpenCV 3.4.6 on Jetson Nano
Quick link: jkjung-avt/jetson_nano
As a follow-up on Setting up Jetson Nano: The Basics, my next step of setting up Jetson Nano’s software development environment is to build and install OpenCV. I aggregate all steps of building/installing OpenCV into a shell scripts, so that it could be done very conveniently.
In this post, I’d explain why I choose a certain version and configuration of OpenCV. Then I’d show how I use the script to build, install and test OpenCV on my Jetson Nano.
I don’t want to repeat all information I’ve written in this previous post: How to Install OpenCV (3.4.0) on Jetson TX2. So be sure to check that post out if you’d like to know more details about my OpenCV configurations.
Considerations and Choices
I tried to explain my considerations about picking the version of OpenCV and its configurations below.
-
The pre-installed opencv-3.3.1 on Jetson Nano does not support gstreamer functionalities (cannot utilize hardware H.264/H.265 codec on Jetson Nano). That’s the reason why I need to build and install OpenCV by myself. I actually purge the pre-installed opencv-3.3.1 packages at the beginning of my
istall_opencv-3.4.6.shscript. -
Although NVIDIA provides a script for installing opencv-4.0.0 on Jetson Nano, I’m sticking with 3.4.x because Caffe does not build with opencv-4.x. In my script I use opencv-3.4.6 since that’s the latest 3.4.x release as of the time of this writing.
- I don’t want my opencv-3.4.6 build to have any dependencies on ‘protobuf’ for the following reasons. So I choose to use Qt (with OpenGL) backend instead of the default GTK+ backend.
- Double free issue of protobuf (due to protobuf code in opencv) would cause caffe to crash.
- TF-TRT (TensorFlow) might require a newer version of protobuf to work well. If I build opencv-3.4.6 with dependencies on the older version (3.0.0) of protobuf in Ubuntu 18.04, I’d likely run into trouble when trying to upgrade protobuf libraries later on.
- I configured (
cmake) my opencv-3.4.6 with-D ENABLE_FAST_MATH=ON -D CUDA_FAST_MATH=ONin the script. With this, I’m actually trading floating-point computation precision for speed (reference). That is, I don’t care if opencv functions return images with pixel values offset by a few decimal points from the correct values. I care more about fast computation or higher frame rate (FPS). In case floating-point computation precision matters to your application, you should consider removing those FAST_MATH definitions in thecmakecommand.
Prerequisite
Please go through the steps I described in Setting up Jetson Nano: The Basics. I’d strongly suggest you to set up a swap file on the Jetson Nano DevKit since its memory is quite limited.
Building and Installing opencv-3.4.6
Installing opencv-3.4.6 on Jetson Nano using my script is straightforward. But I’d like to highlight a few things first:
-
If you’d like to remove previously built and installed OpenCV libraries, just search all files with names containing ‘opencv’ or ‘cv2’ and delete all of them. You can do such a search by using the
findcommand.$ find /usr/local -name "*opencv*" -o -name "*cv2*"This is usually not necessary though. When you re-build opencv and do
sudo make install, the old files would just be replaced by the newly installed files and things would just work as expected. -
If you’d like to modify some configurations and rebuild opencv-3.4.6, it’s recommended to remove the whole
builddirectory and then redo thecmake. For example,$ cd ${HOME}/src/opencv-3.4.6 $ rm -rf build/ $ mkdir build $ cd build $ cmake XXXXXX .. # details omitted $ make -j3 $ sudo make install -
The
install_opencv-3.4.6.shscript should work for Jetson TX2 or Jetson AGX Xavier (with JetPack-4.2) too. Just remember to set ‘CUDA_ARCH_BIN’ (in thecmakecommand in the script) to the right value for the platform.- Jetson TX2:
CUDA_ARCH_BIN="6.2" - Jetson AGX Xavier:
CUDA_ARCH_BIN="7.2"
- Jetson TX2:
-
During execution of the
install_opencv-3.4.6.shscript, the sudo username/password would likely time out a few times. You’ll have to re-enter your password every time when prompted. If this is an issue for you and you don’t have security related concerns, you could use visudo to set a longertimestamp_timeoutvalue (or set the value to-1for no timeout at all) for sudo sessions.
OK. Here is the part about executing the script and building/installing opencv-3.4.6.
If you haven’t cloned my GitHub ‘jetson_nano’ repository. Do so now.
$ cd ${HOME}/project
$ git clone https://github.com/jkjung-avt/jetson_nano.git
Then make sure Jetson Nano is in 10W (maximum) performance mode so the building process could finish as soon as possible.
$ sudo nvpmodel -m 0
$ sudo jetson_clocks
Then just execute the install_opencv-3.4.6.sh script. Note the script would download and unzip opencv-3.4.6 source files into ${HOME}/src/opencv-3.4.6, and build the code from there.
$ cd ${HOME}/project/jetson_nano
$ ./install_opencv-3.4.6.sh
The building and installing process would take a couple of hours. When done, you should see both python3 and python2 reporting the correct version number of ‘cv2’ module: 3.4.6.
Thanks to mdegans, who pointed out there are built-in tests in opencv which we could use to verify the library we built on Jetson Nano. I ran the test and reviewed all failure cases. Overall I think the opencv-3.4.6 library I built on Jetson Nano with the script is good.
Testing opencv-3.4.6 with tegra-cam.py
I’d use my tegra-cam.py script to test my opencv-3.4.6 build. Note that I use a USB webcam for the testing. Just plug the USB webcam into one of the USB ports on Jetson Nano and: (Adjust image width/height for the camera you’re using if necessary)
$ wget https://gist.githubusercontent.com/jkjung-avt/86b60a7723b97da19f7bfa3cb7d2690e/raw/9561b135c1b40f82afe46afcc1f326a2e913e08c/tegra-cam.py
$ python3 tegra-cam.py --usb --vid 0 --width 1280 --height 720
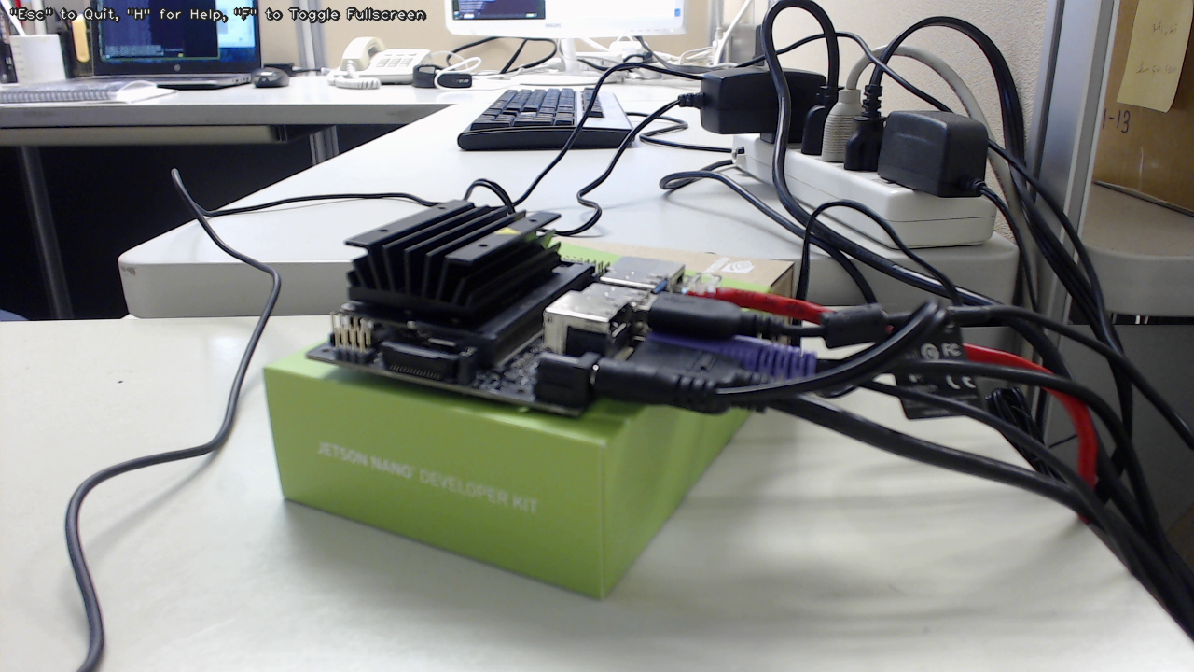
And voila, the Jason Nano DevKit in action, running with the freshly built and installed opencv-3.4.6, and shot from the webcam.